> ## Documentation Index
> Fetch the complete documentation index at: https://octolens.com/docs/llms.txt
> Use this file to discover all available pages before exploring further.
# Setup Guides
> Step-by-step guides to connect the Octolens MCP v2 server to Claude Code, Claude Desktop/Web, ChatGPT, Cursor, and other tools that support Model Context Protocol.
All v2 connections use the same server URL and OAuth — there's no API key to paste.
```
https://app.octolens.com/api/mcp/v2
```
On first use, your client opens a browser tab where you sign in to Octolens and approve the connection.
You can launch any of these flows from inside the app under **Settings → MCP → Setup Octolens MCP**, which walks you through the same steps per tool.
 ***
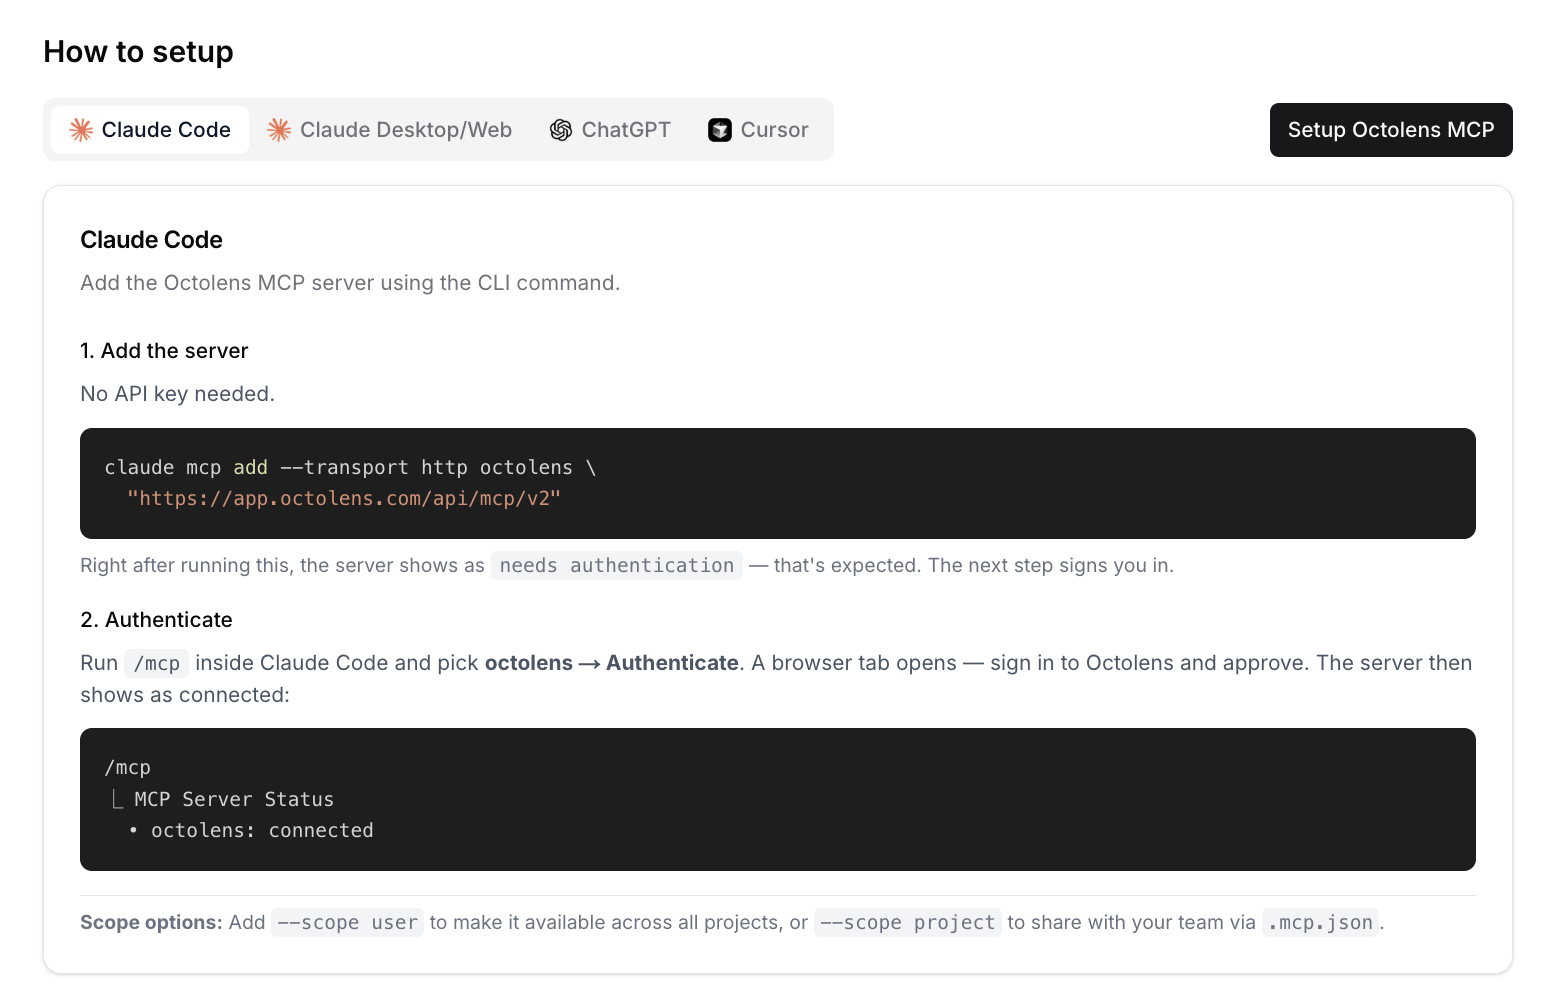
## Claude Code
Add the Octolens MCP server using the CLI command.
#### 1. Add the server
No API key needed.
```bash theme={null}
claude mcp add --transport http octolens \
"https://app.octolens.com/api/mcp/v2"
```
Right after running this, the server shows as `needs authentication` — that's expected. The next step signs you in.
#### 2. Authenticate
Run `/mcp` inside Claude Code and pick **octolens → Authenticate**. A browser tab opens — sign in to Octolens and approve. The server then shows as connected:
```
/mcp
⎿ MCP Server Status
• octolens: connected
```
**Scope options:** Add `--scope user` to make it available across all projects, or `--scope project` to share with your team via `.mcp.json`.
***
## Claude Code
Add the Octolens MCP server using the CLI command.
#### 1. Add the server
No API key needed.
```bash theme={null}
claude mcp add --transport http octolens \
"https://app.octolens.com/api/mcp/v2"
```
Right after running this, the server shows as `needs authentication` — that's expected. The next step signs you in.
#### 2. Authenticate
Run `/mcp` inside Claude Code and pick **octolens → Authenticate**. A browser tab opens — sign in to Octolens and approve. The server then shows as connected:
```
/mcp
⎿ MCP Server Status
• octolens: connected
```
**Scope options:** Add `--scope user` to make it available across all projects, or `--scope project` to share with your team via `.mcp.json`.
 ***
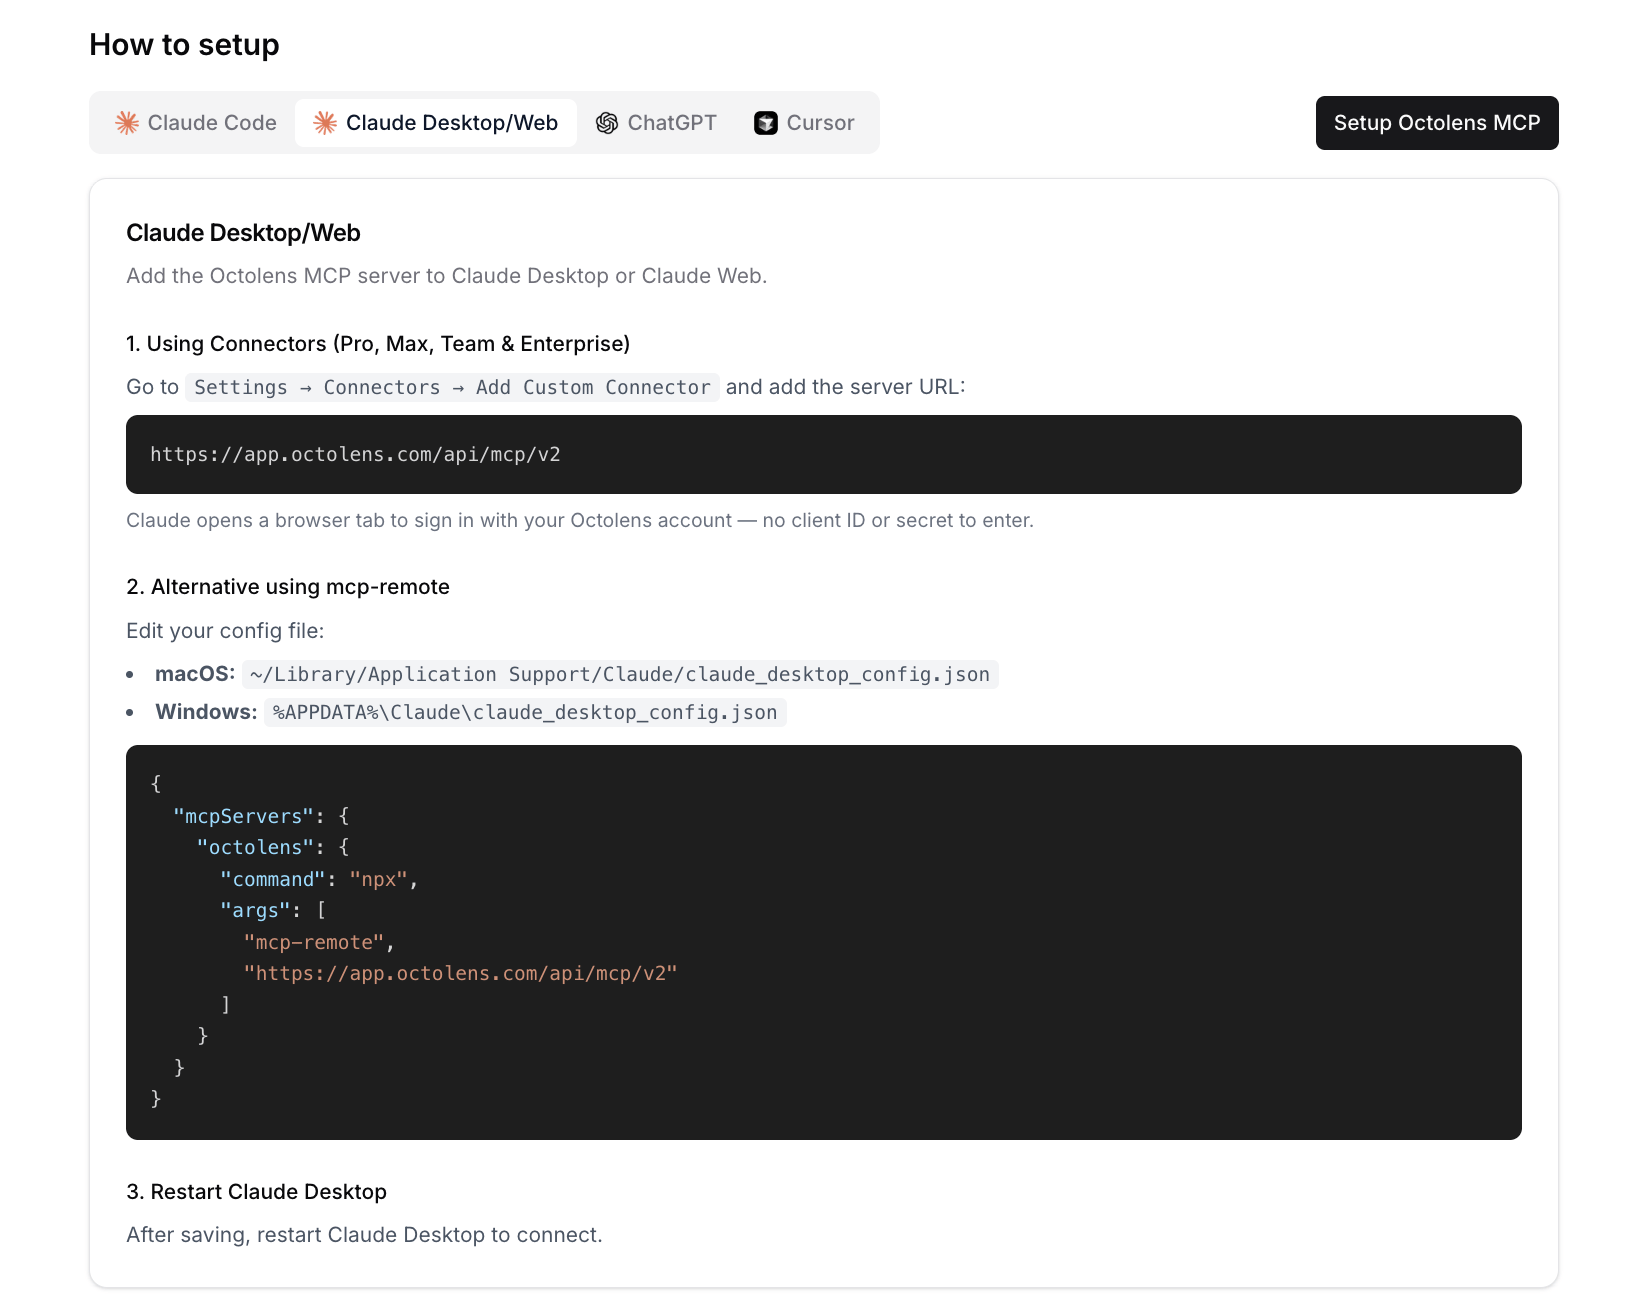
## Claude Desktop / Web
Add the Octolens MCP server to Claude Desktop or Claude Web.
#### 1. Using Connectors (Pro, Max, Team & Enterprise)
Go to `Settings → Connectors → Add Custom Connector` and add the server URL:
```
https://app.octolens.com/api/mcp/v2
```
Claude opens a browser tab to sign in with your Octolens account — no client ID or secret to enter.
#### 2. Alternative: using mcp-remote
Edit your config file:
* **macOS:** `~/Library/Application Support/Claude/claude_desktop_config.json`
* **Windows:** `%APPDATA%\Claude\claude_desktop_config.json`
```json theme={null}
{
"mcpServers": {
"octolens": {
"command": "npx",
"args": [
"mcp-remote",
"https://app.octolens.com/api/mcp/v2"
]
}
}
}
```
#### 3. Restart Claude Desktop
After saving, restart Claude Desktop to connect.
***
## Claude Desktop / Web
Add the Octolens MCP server to Claude Desktop or Claude Web.
#### 1. Using Connectors (Pro, Max, Team & Enterprise)
Go to `Settings → Connectors → Add Custom Connector` and add the server URL:
```
https://app.octolens.com/api/mcp/v2
```
Claude opens a browser tab to sign in with your Octolens account — no client ID or secret to enter.
#### 2. Alternative: using mcp-remote
Edit your config file:
* **macOS:** `~/Library/Application Support/Claude/claude_desktop_config.json`
* **Windows:** `%APPDATA%\Claude\claude_desktop_config.json`
```json theme={null}
{
"mcpServers": {
"octolens": {
"command": "npx",
"args": [
"mcp-remote",
"https://app.octolens.com/api/mcp/v2"
]
}
}
}
```
#### 3. Restart Claude Desktop
After saving, restart Claude Desktop to connect.
 ***
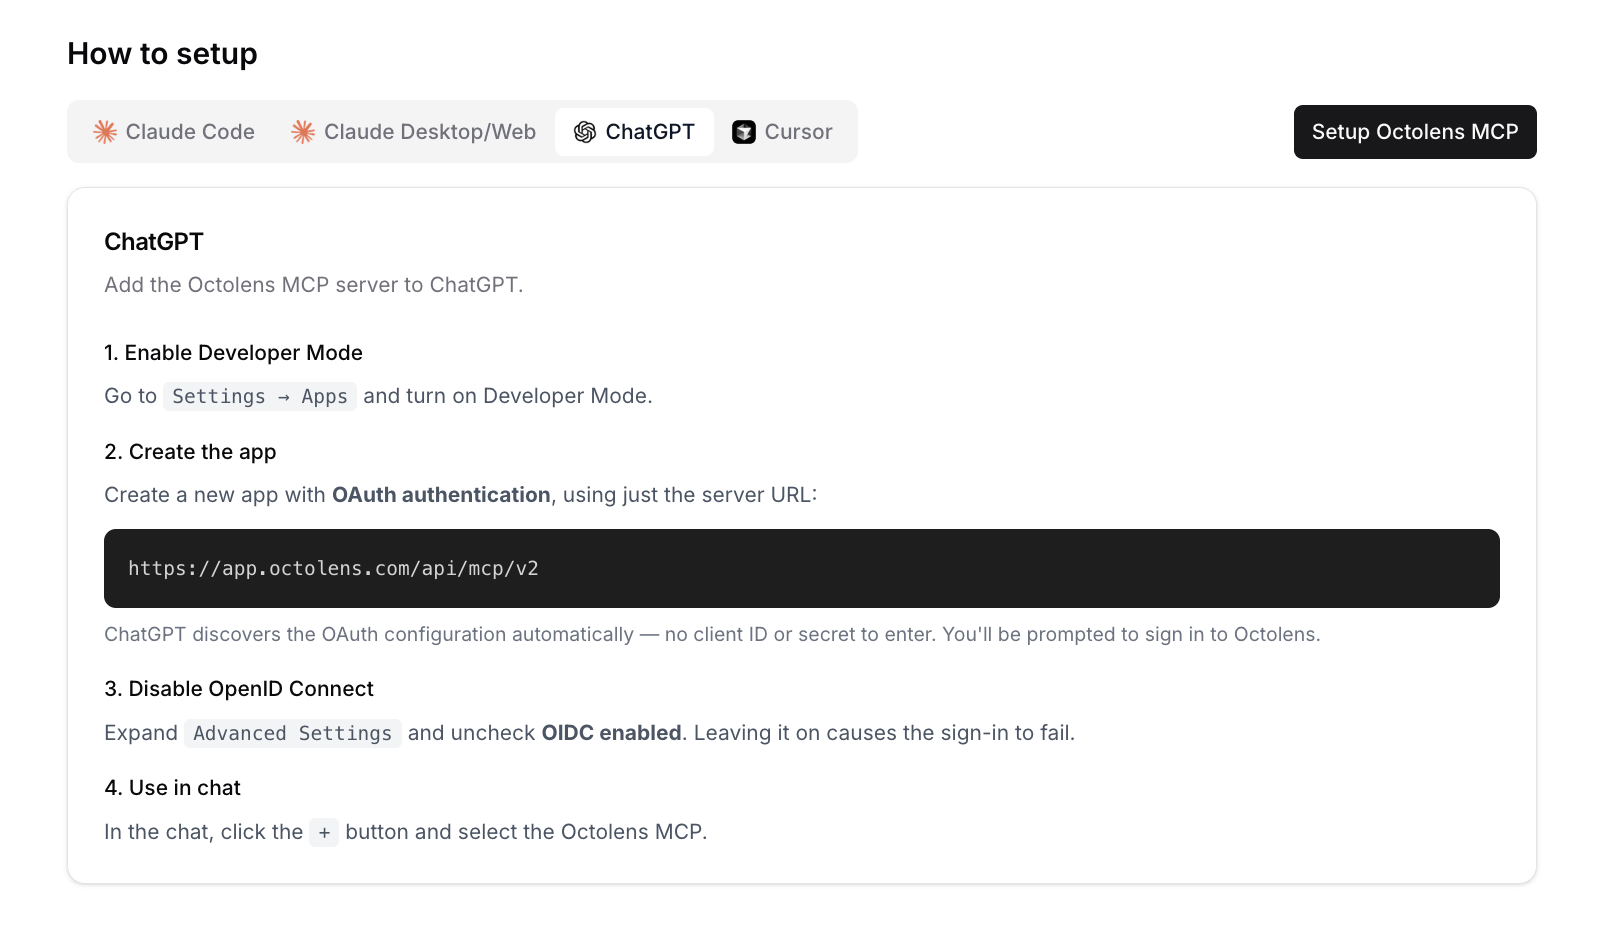
## ChatGPT
Add the Octolens MCP server to ChatGPT.
#### 1. Enable Developer Mode
Go to `Settings → Apps` and turn on Developer Mode.
#### 2. Create the app
Create a new app with **OAuth authentication**, using just the server URL:
```
https://app.octolens.com/api/mcp/v2
```
ChatGPT discovers the OAuth configuration automatically — no client ID or secret to enter. You'll be prompted to sign in to Octolens.
#### 3. Disable OpenID Connect
Expand `Advanced Settings` and uncheck **OIDC enabled**. Leaving it on causes the sign-in to fail.
#### 4. Use in chat
In the chat, click the `+` button and select the Octolens MCP.
***
## ChatGPT
Add the Octolens MCP server to ChatGPT.
#### 1. Enable Developer Mode
Go to `Settings → Apps` and turn on Developer Mode.
#### 2. Create the app
Create a new app with **OAuth authentication**, using just the server URL:
```
https://app.octolens.com/api/mcp/v2
```
ChatGPT discovers the OAuth configuration automatically — no client ID or secret to enter. You'll be prompted to sign in to Octolens.
#### 3. Disable OpenID Connect
Expand `Advanced Settings` and uncheck **OIDC enabled**. Leaving it on causes the sign-in to fail.
#### 4. Use in chat
In the chat, click the `+` button and select the Octolens MCP.
 ***
## Cursor
Add the Octolens MCP server to your Cursor IDE.
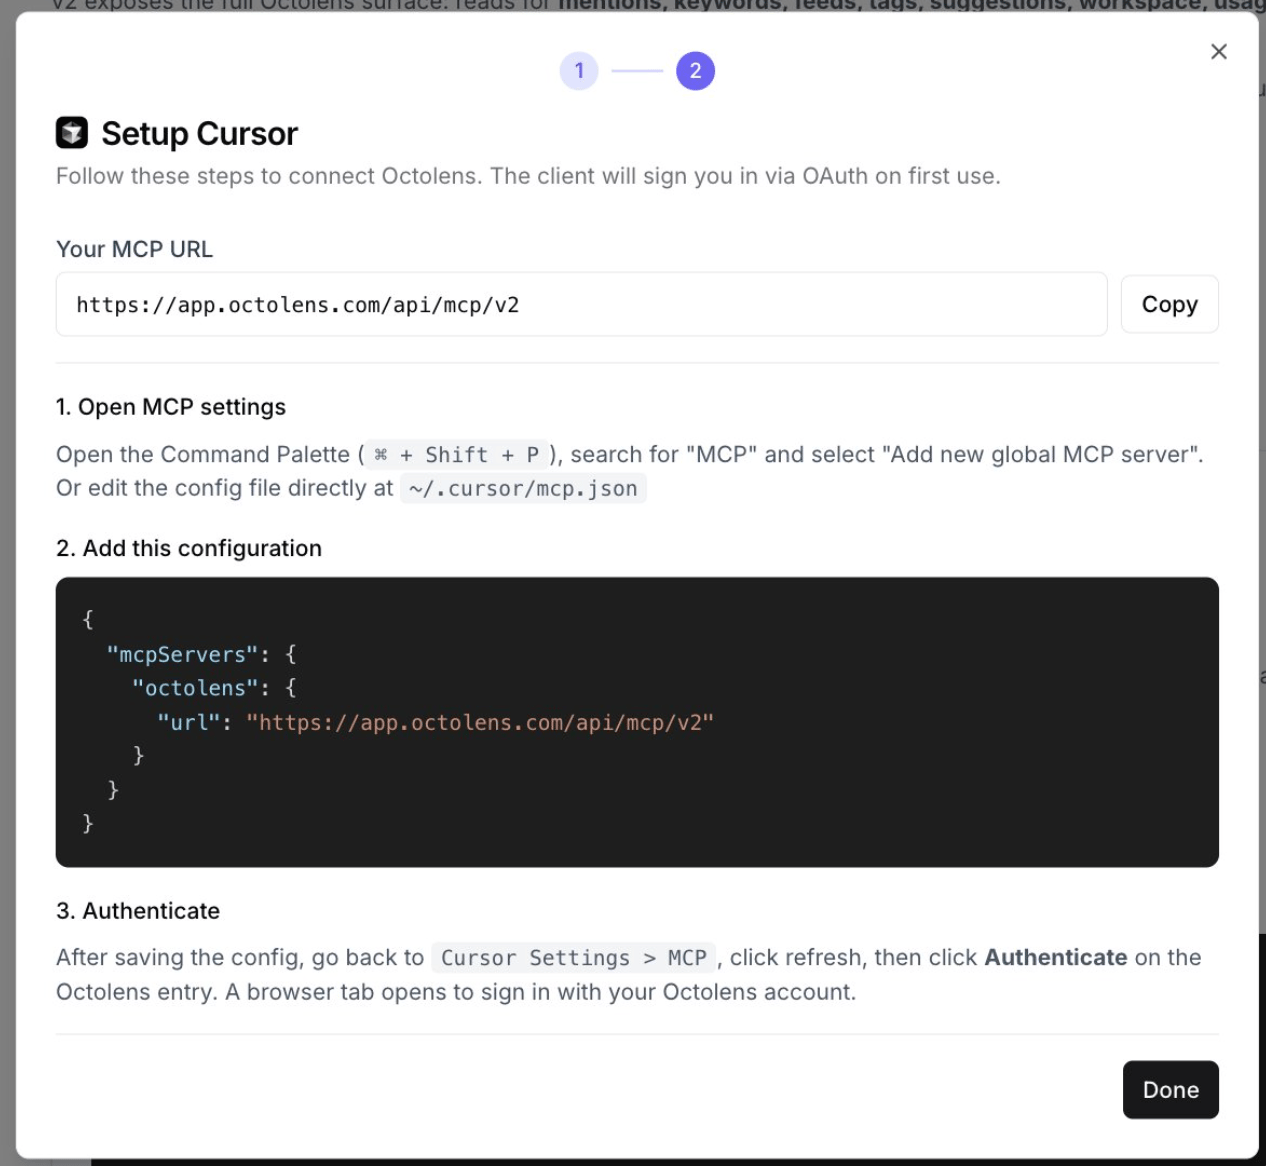
#### 1. Open MCP settings
Open the Command Palette (`⌘ + Shift + P` on Mac, `Ctrl + Shift + P` on Windows), search for "MCP" and select "Add new global MCP server".
Or edit the config file directly:
* **macOS/Linux:** `~/.cursor/mcp.json`
* **Windows:** `%USERPROFILE%\.cursor\mcp.json`
#### 2. Add this configuration
```json theme={null}
{
"mcpServers": {
"octolens": {
"url": "https://app.octolens.com/api/mcp/v2"
}
}
}
```
#### 3. Authenticate
After saving the config, go back to `Cursor Settings → MCP`, click refresh, then click **Authenticate** on the Octolens entry. A browser tab opens to sign in with your Octolens account. Once connected, use the MCP tools in Agent mode.
***
## Cursor
Add the Octolens MCP server to your Cursor IDE.
#### 1. Open MCP settings
Open the Command Palette (`⌘ + Shift + P` on Mac, `Ctrl + Shift + P` on Windows), search for "MCP" and select "Add new global MCP server".
Or edit the config file directly:
* **macOS/Linux:** `~/.cursor/mcp.json`
* **Windows:** `%USERPROFILE%\.cursor\mcp.json`
#### 2. Add this configuration
```json theme={null}
{
"mcpServers": {
"octolens": {
"url": "https://app.octolens.com/api/mcp/v2"
}
}
}
```
#### 3. Authenticate
After saving the config, go back to `Cursor Settings → MCP`, click refresh, then click **Authenticate** on the Octolens entry. A browser tab opens to sign in with your Octolens account. Once connected, use the MCP tools in Agent mode.